How To Install Luar on Kodi: Guide For Beginners
Luar is a plugin or add-on for Kodi that allows you to easily install other third-party add-ons that are not in the official repository. With Luar, you can access a wide variety of streaming content, such as movies, series, sports, documentaries, and more. In this article, we explain how to install Luar on Kodi step by step and how to use it to add other add-ons.
Table of Contents
Before you start, you should know that many of the plugins you can install with Luar offer copyrighted content. So we ask you to use this add-on at your own risk.
Steps to install Luar on Kodi
Firstly, you need to have Kodi downloaded and updated on your device. Do you already have it? Then follow these steps to install Luar:
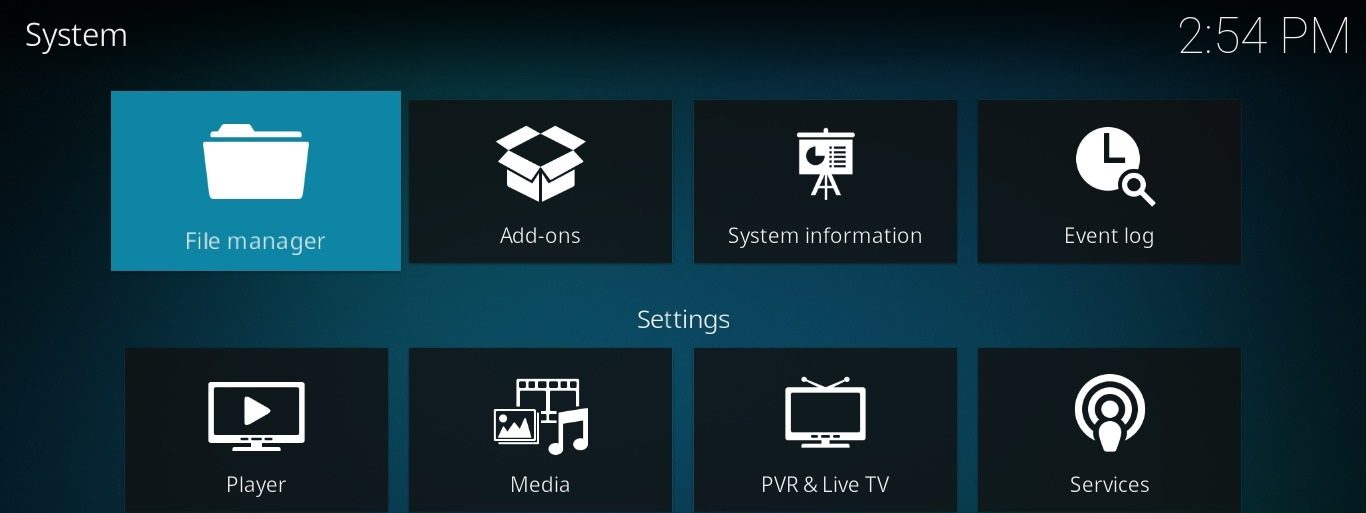
- Open Kodi and go to Settings by tapping the gear icon.
![]()
- Select File Explorer.

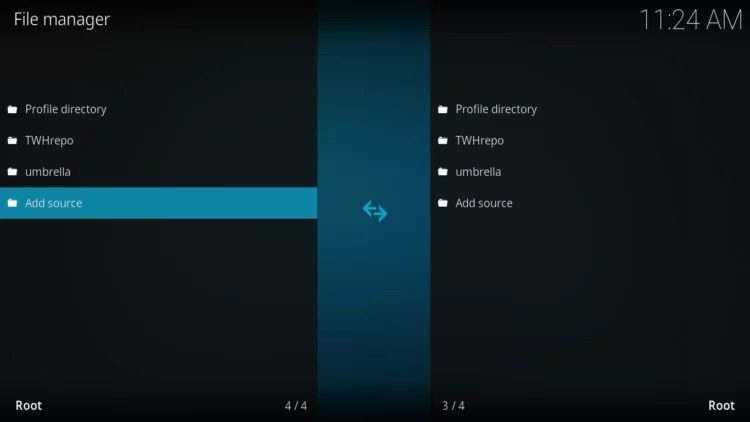
- Tap Add Source

- Click on <None>.
- Enter the following web address: http://luarsource.github.io/Fuente/
- Click Ok and change the font name to Luar.
- Go back (to the System menu) and select Add-ons.

- Click on Install from a .zip file.

- Press on Luar.
- Select the script.luar-0.9.10.zip file.
- Now you just have to wait a few minutes for the add-on to install. You won’t see a download progress or anything, but you will see that it is installed.
- When it is installed, an add-on installed notification will appear on the screen. At that point, you can start using the add-on. You will find it in the Add-ons > Program Add-ons section.
The first time you open Luar on Kodi, the add-on will perform an additional installation that takes just a couple of seconds. After this small update is installed, you will have to exit the add-on and reopen it to start using it.
Is there another way to install Luar on Kodi?
Yes, there is. If you don’t want to follow the entire procedure above, you can simply download the Luar ZIP file and transfer it to the device where you have Kodi installed. Next, enter Kodi and go to Settings > Add-ons > Install from a .zip file. Then, just find the downloaded Luar ZIP file in your device storage and select it. That easy!


