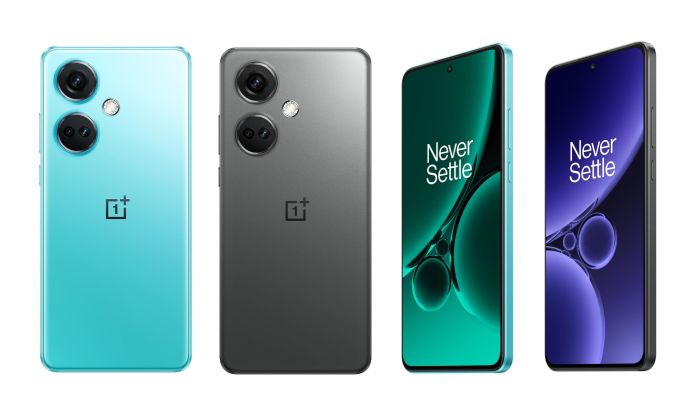
Install Google Camera 8.9 for OnePlus Nord CE3 – Best Gcam

The OnePlus Nord CE3 has a good camera, but you can make it even better by using Google Camera (Gcam). This guide shows you how to install and use Gcam on your Nord CE3 for amazing photos.
Table of Contents
Download Links:
- Download Google [GCam 8.7 – Gcam-8.7.250.build-8.3_GoogleCamera.apk]
- Download GCam 8.9 [GCam 8.9 – MGC_8.9.097_A11_V3_MGC.apk]
- Download GCam 7.3[GCam_7.3.018_Urnyx05-v2.6.apk]
How to Install Google Camera on the OnePlus Nord CE3:
1. Download the App: Click the links above to get the right Gcam version for your phone.
2. Move the Files: Transfer the downloaded .apk and XML files to your phone.
3. Create Folders: Make a folder called “GCam” in your phone’s storage, and put the downloaded files there. Inside “GCam,” create another folder called “Configs” and move the XML file there.
4. Install the App: Find the .apk file and install Google Camera on your phone.
5. Set up Gcam: Open the app, double-tap near the shutter button, choose “Choose Config,” find the XML file, and press “Restore.”
Recommended Settings (for GCam 7.3):
- – Get the right configuration file.
- – Make a folder called “GCam” on your device.
- – Inside “GCam,” create a subfolder called “configs7.”
- – Put the configuration file in the “configs7” folder.
- – Open Google Camera, double-tap near the shutter, choose the config file, and press “Restore.”
- – Restart the app.
Tips for Using Google Camera:
- – Night Sight: Use this for clear photos in low light.
- – Astrophotography: Take long-exposure shots of the night sky.
- – HDR+: Brighten your photos and make colors stand out, especially outside.
- – Adjust Settings: Try different settings for the best results in various light.
- – Keep Your Camera Steady: Use a tripod or stable surface to avoid shaking, especially for long shots.
With Google Camera, your OnePlus Nord CE3 can take great photos like a professional camera. Explore its features to improve your photography!
More For You:


![Download Android 14 for Pixel Phones [Factory and OTA Images] 1 Screenshot 2023 08 26 192650 4](/wp-content/uploads/2024/07/1-screenshot-2023-08-26-192650-4-390x220.jpg)
