3 Ways to Connect a Chromebook to a Monitor or TV

Alright, so you’re rocking a Chromebook, but let’s be real, the screen feels a bit cramped, right? You crave a larger canvas to spread out your work, dive into immersive games, or maybe even do some serious photo and video editing. We’ve all been there.
Well, guess what? Connecting an external monitor to your Chromebook is super easy and worth it. Think of it as giving your Chromebook a serious upgrade, a fresh perspective, and a whole lot more room to breathe.
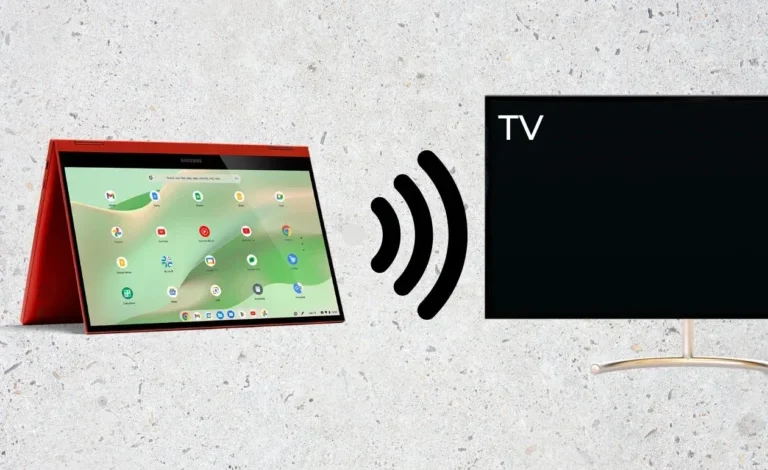
In this guide, we’re going to walk you through all the different ways to connect your Chromebook to a bigger display, be it a monitor, TV, or even a projector. We’ll break down the tech, but we’ll also keep it simple and friendly, so you don’t have to be a tech wizard to get this done.
Why Go Big? The Benefits of a Larger Screen
Let’s be honest, a larger screen just makes everything better, right? You can:
-
Multitask Like a Champ: No more feeling like you’re wrestling with a tiny screen. Multitask with ease, juggle multiple windows and apps, and get more done without feeling overwhelmed.
-
Unleash Your Creativity: Need to edit photos or videos? A bigger screen gives you the real estate you need to see every detail, adjust colours with precision, and bring your creative visions to life.
-
Level Up Your Gaming: Ditch the tiny screen and immerse yourself in your games. Larger screens make games feel more alive, let you see more of the action, and give you that competitive edge.
-
Work From Anywhere: Connecting a monitor to your Chromebook gives you a desktop-like experience, allowing you to work comfortably and efficiently from anywhere.
Connecting with Cables: The Classic Approach
Alright, let’s get into the nitty-gritty. First, we’ll tackle the tried and true method – connecting with cables.

Here’s what you need to know:
-
Port Power: Most Chromebooks have one or more of these ports: HDMI, DVI, DisplayPort, or VGA. Many monitors also have HDMI, which makes it the easiest choice.
-
Cable Connections: Simply plug one end of the cable into your Chromebook and the other end into your monitor. Easy peasy!
-
Auto Detection: In most cases, your Chromebook will automatically recognize the new display, and you’re good to go. But if it doesn’t, don’t panic! We’ll show you how to manually connect in a jiffy.
Manual Connection: If Auto Detection Fails
-
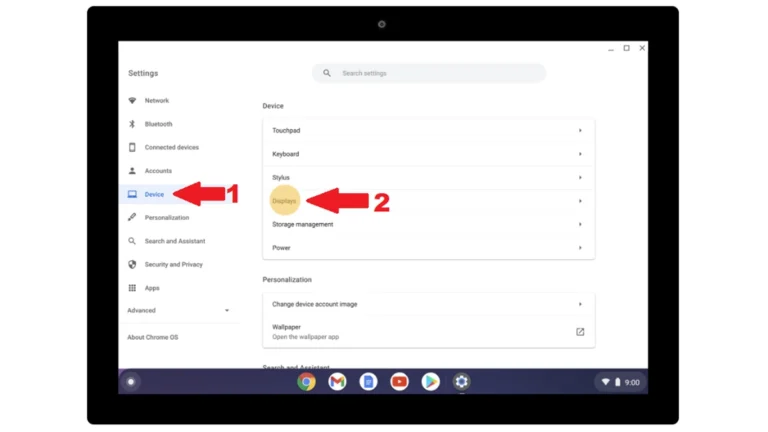
Open Chromebook Settings: Click the Status section (bottom right corner) -> Settings gear icon.
-
Select Display Settings: Choose “Display Settings” under the “Device” header.
-
Manage Displays: The “Manage Displays” window will show the connected display.

Wireless Options for the Modern Techie
Now, let’s talk about the wireless wonders that make life easier.
1. Chromecast for Screen Mirroring: This is your go-to for casting your Chromebook screen to a smart TV or monitor (that runs Android) using Chromecast.
-
Launch Google Chrome: Click the menu (top right corner) -> “Cast” option.
-
Select Your Device: Choose your Chromecast device from the list.
2. Chrome Remote Desktop: Access Your Chromebook from Another Device
Ever wished you could access your Chromebook’s screen from your phone or another computer? Chrome Remote Desktop makes it happen!

-
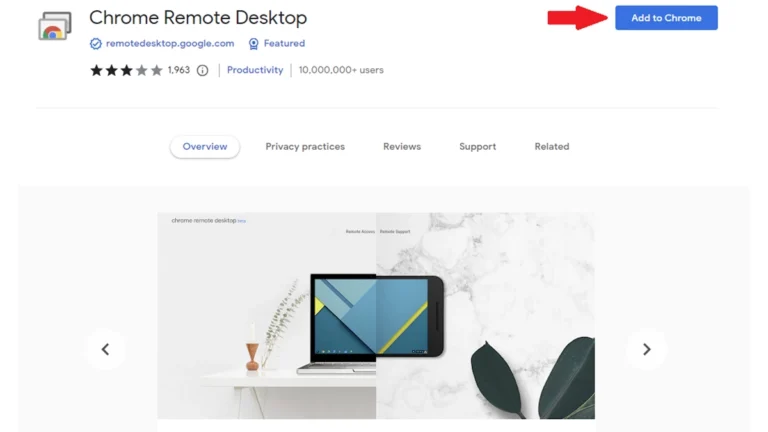
Install Chrome and Chrome Remote Desktop: Install both on your Chromebook and the device you want to use for remote access.
-
Generate a Code: Open the Chrome Remote Desktop website on both computers, get the code, and enter it on the other computer.
-
Connect: Select “Connect” to see your Chromebook’s screen on the other device. It’s like having your Chromebook’s screen right in front of you!
Optimizing Your Display: Tweaking for the Perfect View
Once you’re all hooked up, you can fine-tune your display settings for a perfect viewing experience.
-
Screen Mode: Choose to use the screen only or extend your desktop onto the monitor for a wider workspace.
-
Display Size: Adjust the size of the items on the screen to make them bigger or smaller, whatever feels best for your eyes.
-
Preferred Resolution: Select the desired display quality for sharp, crisp visuals.
-
Refresh Rate: Choose the maximum refresh rate for smoother scrolling and navigation, especially if you’re a gamer.
-
Orientation: Rotate the image on the screen if you need to, say if you’re connecting a projector or have a vertically mounted monitor.
The Big Reveal: Why Connecting Your Chromebook to a Monitor Is a Game Changer
Connecting an external monitor to your Chromebook opens up a whole new world of possibilities. You can:
-
Boost Productivity: Get more done with a wider workspace, multitask effortlessly, and streamline your workflow.
-
Embrace Creativity: Edit photos and videos with precision, enjoy a larger viewing area for creative projects, and bring your ideas to life with greater detail.
-
Enjoy Immersive Gaming: Experience games like never before with a larger, more detailed view. The immersion is unreal!
-
Work From Anywhere: Connect to a monitor and create a comfortable, desktop-like setup wherever you go.
Ready to Level Up Your Chromebook?
Connecting an external monitor to your Chromebook is easy, affordable, and worth it. So ditch the cramped screen, unlock a world of possibilities, and get ready to experience your Chromebook in a whole new light!