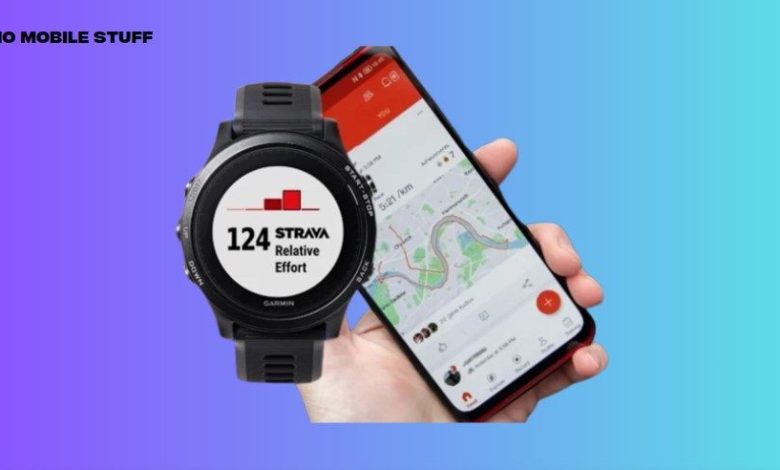
How to sync Strava routes on your Garmin Smartwatch

Love exploring new trails? Strava and your Garmin watch make it easy! This guide shows you how to sync your Strava routes directly to your Garmin watch.
Table of Contents
Get Started:
-
Requirements:
-
A Garmin watch that supports courses.
-
Connected accounts between Strava and Garmin Connect. (You can find a guide on how to link your accounts here: [Link to your linking guide])
-
Steps to sync Strava routes on your Garmin Smartwatch:
1. Check Garmin Connect Settings
-
Open the Garmin Connect app on your phone.
-
Tap “More” (bottom right).
-
Go to “Settings” > “Connected apps”.
-
Make sure Strava is connected and the “Courses” option is turned on.
2. Save a Route on Strava
-
Open the Strava app on your phone.
-
Tap “Maps” to search for routes.
-
Find a route you like and tap “Save”.
-
Make sure “Sync with supported devices” is checked before confirming.
3. Sync Your Watch with Garmin Connect
-
Go back to the Garmin Connect app.
-
Tap the refresh icon in the top right to sync your data.
-
Go to “More” > “Training and Planning” > “Courses”.
-
Your saved Strava route should appear in “My Courses”.
4. Upload the Route to Your Garmin Watch
-
Go to your Garmin watch.
-
Start a workout as usual, choosing your activity profile.
-
Before starting, press the “Up/Menu” button on your watch and tap “Browse”.
-
Select “Courses” and then choose the route you want to load.
Start Your Adventure!
Now you can start your activity and follow your Strava route right on your Garmin watch. Make sure your watch is connected to GPS for accurate navigation.
Enjoy the great outdoors