Fixing Controller Drift in Meta Quest 2 and Quest 3

Experiencing controller drift on your Meta Quest 2 or Meta Quest 3 can be very frustrating and disrupt your VR experience. Controller drift happens when the thumbstick on your VR controller moves even though you aren’t touching it. Here’s a simple guide to help you fix this issue and get back to enjoying your VR sessions.
Table of Contents
What Causes Controller Drift?
Controller drift can be caused by several factors:
-
- Dust or Debris: Tiny particles can get inside the controller and affect the thumbstick’s sensors.
- Wear and Tear: Over time, the thumbstick parts can wear down and lead to drift.
- Calibration Issues: Sometimes the controller’s internal settings can get misaligned.
- Firmware Bugs: Outdated or buggy firmware updates may cause drift issues.
How to Fix Controller Drift
Here are several steps you can take to address controller drift on your Meta Quest 2 or Meta Quest 3:
1. Clean Your Controllers
Cleaning your controllers can help if dust or dirt is causing the drift.
-
-
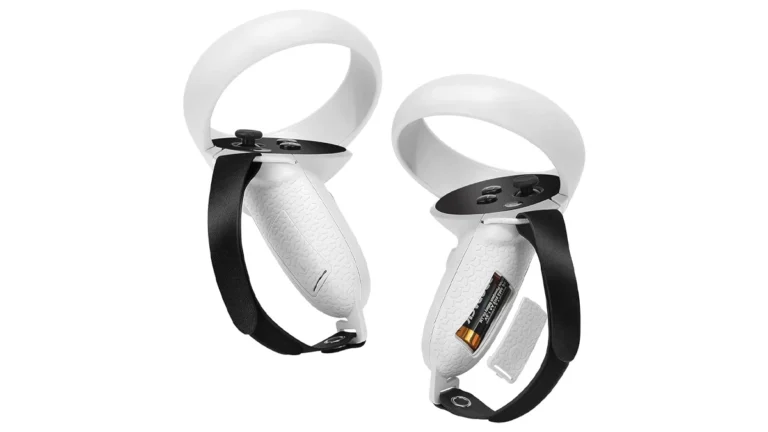
- Turn off your Meta Quest headset and remove the batteries from the controllers.
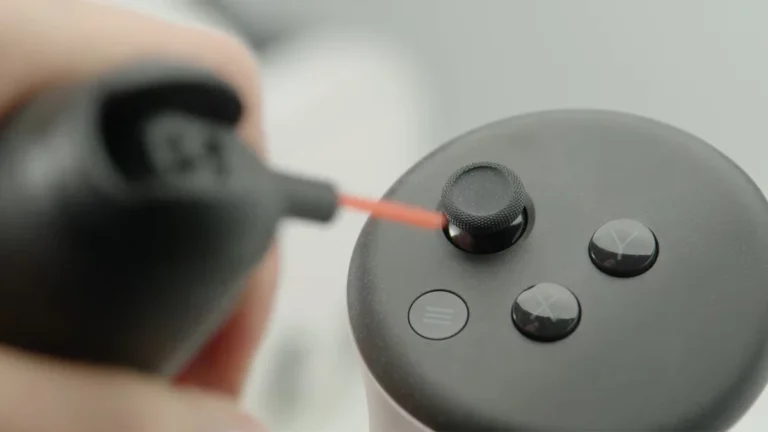
- Use a dry microfiber cloth to gently wipe the thumbsticks.
- For a deeper clean, use a cotton swab dipped in 70% or higher isopropyl alcohol to clean around the base of the thumbstick.
- Move the thumbstick around while cleaning to reach all areas.
- Let the thumbsticks dry completely before putting the batteries back in.
-

2. Recalibrate the Controllers
Recalibrating your controllers can fix minor drift issues.
-
-
- Turn on your Meta Quest headset.
- Go to the Settings menu from the Oculus Home.
- Select Devices > Controllers.
- Choose Recalibrate and follow the on-screen instructions.
-
Test the controllers after recalibration to see if the issue is resolved.

3. Reset Your Controllers
If recalibration doesn’t help, try resetting your controllers:
-
-
- Turn off your Meta Quest controllers.
- Remove the batteries and leave them out for about 30 seconds.
- Put the batteries back in and turn the controllers on.
-
A reset can fix various problems, including controller drift.
4. Perform a Software Update
Outdated firmware can sometimes cause controller drift.
-
-
- Make sure your Meta Quest headset is connected to Wi-Fi.
- Go to Settings > System > Software Updates.
- Download and install any available updates.
- Restart your headset and test the controllers.
-
5. Adjust Deadzone Settings
If the previous steps don’t solve the problem, adjusting the dead zone settings might help.
-
-
- Go to Devices > Controllers in the Settings menu.
- Select Thumbstick Settings and adjust the dead zone for the thumbstick.
- Increase the dead zone slightly until the drift is less noticeable.
-
6. Replace the Thumbstick Module
If none of the above fixes work, you might need to replace the thumbstick module.
-
-
- Purchase a replacement module compatible with your Meta Quest controllers.
- Follow a guide or tutorial to safely open your controller and replace the thumbstick.
- Be cautious, as opening the controller might void the warranty.
-
Alternatively, you can contact Meta Support for professional repair or replacement.
7. Factory Reset the Headset
If all else fails, performing a factory reset on your headset might resolve persistent issues.
-
-
- Go to Settings > System > Reset Device.
- Select Factory Reset and confirm.
- Remember, this will erase all data on your headset, so back up any important data before proceeding.
-
After the reset, set up your device again and check if the controllers are working properly.
8. Disassemble and Clean the Joystick (Advanced)
As a last resort, you can disassemble and clean your controllers yourself. This is more complex and should be done carefully:
-
-
-
- Disconnect the controllers and remove the batteries.
- Use an opening tool to remove the plastic faceplate.
- Gently clean the joystick with compressed air and isopropyl alcohol.
- Move the joystick manually while cleaning to reach all areas.
- Let everything dry before reassembling the controller.
-
-
Closing Thoughts
If you continue to experience issues with controller drift, and you don’t want to open the controllers yourself, contact Meta Support. They can provide a replacement or repair of your controllers if they are still under warranty.
If you have any questions or need further assistance, feel free to ask!