Get ready to give your Google Pixel Tablet a serious upgrade! This guide will walk you through installing the latest LineageOS 20 ROM, which is based on Android 13. The Pixel Tablet is a fantastic device with a clean stock OS, fast updates, and a powerful camera. It’s hard to beat!
Table of Contents
Following the Pixel lineup’s tradition of innovation, the Pixel Tablet is sure to be a hit. And with LineageOS 20 based on Android 13, your tablet will get a fast, lightweight ROM with just the right features. Let’s dive into the installation process!
Install LineageOS 20 Android 13 on Google Pixel Tablet
Install Android SDK

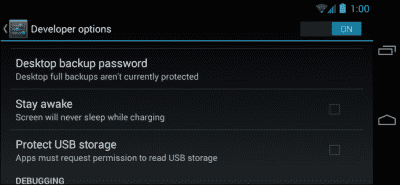
Enable USB Debugging and OEM Unlocking
Next, you need to make sure your Pixel Tablet has USB Debugging turned on. This allows your computer to communicate with the tablet and access its system. Here’s how:
- Go to your tablet’s Settings > About Tablet.
- Tap on the Build Number seven times. You’ll see a message saying “Developer options are now available.”
- Go back to Settings > System > Advanced > Developer Options.
- Enable USB Debugging.
- Also, enable OEM Unlocking in Developer Options.

Unlock the Bootloader on Pixel Tablet
Now, we need to unlock the bootloader on your Pixel Tablet. This is a very important step, and it will erase all the data on your tablet! Unlocking the bootloader also voids your warranty, so be sure you understand the risks before proceeding.
Here’s how to unlock the bootloader:
- Connect your Pixel Tablet to your computer using a USB cable.
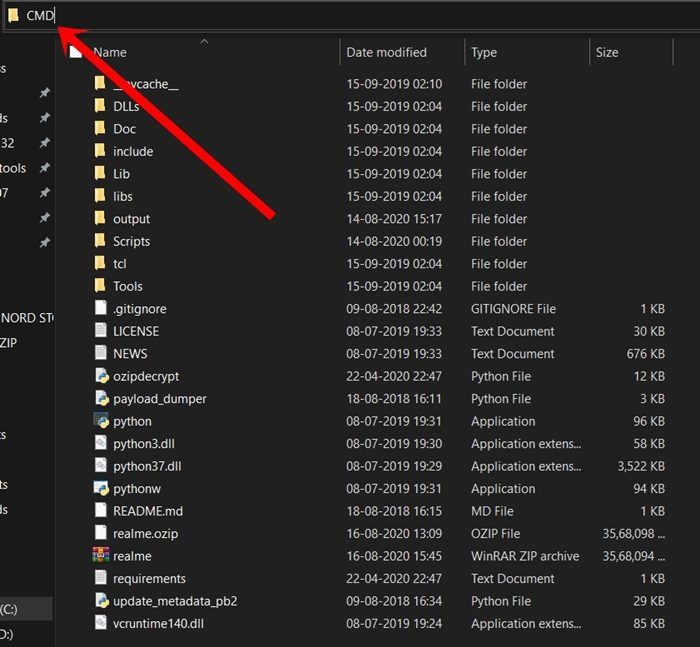
- Open a command prompt (CMD) window in the Platform Tools folder you extracted earlier.
- Type the command
adb reboot bootloaderand press Enter. - Your Pixel Tablet will now boot into Fastboot mode.
- Type the command
fastboot flashing unlockand press Enter. - On your tablet screen, use the volume keys to navigate and the power button to select “Yes”.
Your Pixel Tablet will now be unlocked. Remember, once you unlock the bootloader, you cannot go back to a locked state.

Download LineageOS ROM for Pixel Tablet
- You’ll need to download the LineageOS ROM and Recovery files for your Pixel Tablet. You can find the latest versions here:
- Note: Always make sure you’re downloading the most recent files!
Pixel Tablet: LineageOS 20 | boot.img | dtbo.img | vendor_boot.img | vendor_kernel_boot
GApps Android 13: Download Link [Recommended: MindTheGAppps]
- After you’ve downloaded everything, move all the files to the Platform Tools folder.
- For easier use, rename the LineageOS ROM file to “rom.zip” and the Google Apps file to “gapps.zip”.
Boot Pixel Tablet to Fastboot Mode
- Connect your tablet to your computer with the USB cable.
- Make sure USB Debugging is still enabled.
- Open a command prompt (CMD) window in the Platform Tools folder.

- Type the command
adb reboot bootloaderand press Enter to boot your Pixel Tablet into Fastboot mode.
- To test the Fastboot connection, type the command
fastboot devicesand press Enter. Your tablet’s device ID should be displayed.

Flash Boot, Dtbo, Vendor_Kernel_Boot
Now, we’ll flash the boot, dtbo, and vendor_kernel_boot files. This sets up the core components of your tablet’s operating system.
- Type the command
fastboot flash boot boot.imgand press Enter to flash the boot image.

- Next, type the command
fastboot flash dtbo dtbo.imgand press Enter to flash the dtbo image.
- Finally, type the command
fastboot flash vendor_kernel_boot vendor_kernel_boot.imgand press Enter to flash the vendor_kernel_boot image.
Install LineageOS Recovery on Pixel Tablet
Now we’ll install the custom LineageOS Recovery on your tablet. This special recovery is essential for flashing the LineageOS ROM.
- Type the command
fastboot flash vendor_boot vendor_boot.imgand press Enter to flash the vendor_boot image.

- Once flashing is complete, type the command
fastboot reboot recoveryand press Enter to boot your Pixel Tablet into LineageOS Recovery mode.
Factory Reset
- You’ll see the LineageOS Recovery menu. Navigate to “Format Data/Factory Reset” and select “Format Data”. This will erase all data on your Pixel Tablet, so be absolutely sure you’ve backed up everything important!

- Your Pixel Tablet will now be reset. Once it’s finished, you’ll see a message saying “Data wipe complete”.

Install LineageOS 20 on Pixel Tablet
We’re almost there! Now we’ll install the LineageOS 20 ROM.
- In LineageOS Recovery, navigate to “Apply Update > Apply from ADB”.

- Open a command prompt (CMD) window in the Platform Tools folder.
- Type the command
adb sideload rom.zipand press Enter to flash the LineageOS ROM using sideload.
- The process will begin, and once it’s finished, you’ll see a message like “Total xfer: 1.00x”. (If you run into errors, see the “Fix: Error During ADB Sideload” section below.)
- If you’re going to install Google Apps (GApps), go to the next step. Otherwise, you can reboot your Pixel Tablet to the new LineageOS 20 system now by selecting “Reboot System Now”.

Install GApps [Optional]
If you want to install Google Apps (GApps), follow these steps:
- In LineageOS Recovery, navigate to “Advanced > Reboot to Recovery”. Your Pixel Tablet will restart into LineageOS Recovery mode.

- Select “Apply Update > Apply from ADB”.

- Open a command prompt (CMD) window in the Platform Tools folder.
- Type the command
adb sideload gapps.zipand press Enter to flash the GApps file using sideload.
- You might see a notification saying “Signature Verification Failed”. This is normal, as LineageOS hasn’t signed the GApps package. Just select “Yes” to continue.

- After the installation is complete, select “Reboot system now” from the menu to reboot your Pixel Tablet to the new LineageOS 20 system with GApps installed.

That’s it! You’ve successfully installed LineageOS 20 based on Android 13 on your Google Pixel Tablet. Enjoy your new, streamlined and feature-rich Android experience!
If you have any questions about the steps above, please feel free to leave a comment. We’ll be happy to help!
Fix: Error During ADB Sideload
If you encounter any of the error messages below during the sideload process, don’t worry! These usually just mean that the installation was successful, and you can safely reboot your device and start using LineageOS 20.
- Total xfer: 1.00x
- adb: failed to read command: Success/No error
- adb: failed to read command: No error
- (~47%) adb: failed to read the command: No error
- adb: failed to read command: Undefined error: 0