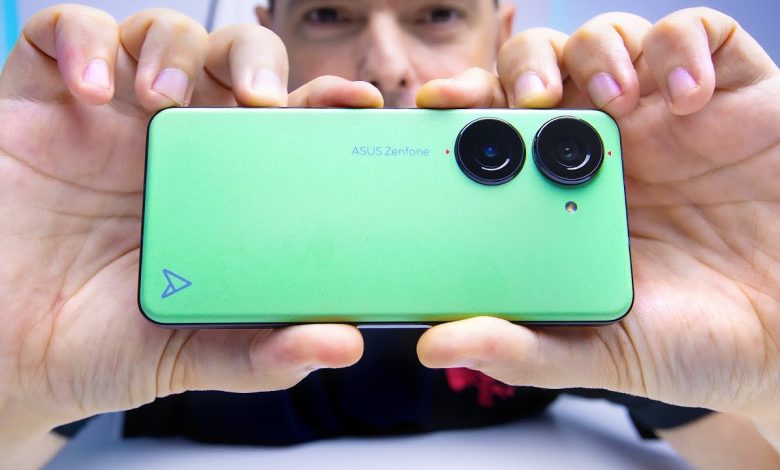
Boost Your ZenFone 10’s Camera with Google Camera!

The Asus ZenFone 10 has a great camera, but with Google Camera (Gcam), you can take even better pictures! This guide shows you how to install it and explains its best features.
Table of Contents
Download Links:
- Download GCam for Zenfone 10 (GCam_8.1.101_Wichaya_V1.1.apk)
- Download GCam 8.6 for Asus ZenFone 10 [MGC_8.6.263_A11_V7.apk]
- Download GCam 8.9 for Asus ZenFone 10 [GCam 8.9 – MGC_8.9.097_A11_V3_MGC.apk]
How to Install Google Camera:
1. Download the App: Pick the Gcam version you want from the links.
2. Move Files: Put the downloaded files (.apk and XML) on your phone.
3. Create Folders:
– Make a folder called “GCam” on your phone.
– Create another folder named “Configs” inside the “GCam” folder.
– Put the .apk file in the “GCam” folder and the XML file in the “Configs” folder.
4. Install the App: Open and install the Google Camera .apk file.
Set Up Gcam:
1. Open the Gcam app and double-tap near the shutter button.
2. Click “Choose Config,” find the XML file, and press “Restore.”
Recommended Settings for Gcam 8.1:
1. Open Google Camera.
2. Go to Settings > Mod Settings.
3. Choose “Aux Camera Back.”
4. Turn on “Manual set camera ID.”
5. Set “Back Camera 1” to 0.
6. Set “Back Camera 2” to 2.
7. Set “Front Camera (main)” to 1.
Tips for Using Google Camera:
- – Night Sight is great for low light.
- – Use Astrophotography for night sky photos.
- – HDR+ improves pictures with different lighting.
- – Change settings like exposure and ISO for better results.
- – Keep your camera steady with a tripod or a flat surface.
Get Ready for Great Photos:
With Google Camera set up, you can fully enjoy your ZenFone 10’s camera! Try out the features and start taking amazing photos like a pro.
FAQs:
– Is it safe to install Google Camera? Yes, if you download it from a reliable source.
– Can I use it on other Asus phones? It depends on the model and if it works with Gcam.
– Does it take up a lot of space? No, Google Camera is small and won’t take much storage.
Make your ZenFone 10’s camera even better with Google Camera!