Download MTK Driver Auto Installer (all versions)

The MTK Driver Auto Installer makes installing the right Mediatek USB VCOM drivers on your Windows PC super easy. Without these drivers, your computer might not recognize your Mediatek device, which can cause issues when you’re flashing firmware, rooting your phone, or even transferring data. The best part? The auto installer takes care of everything for you—no need to mess with manual installation.
Table of Contents
Why Use the MTK Driver Auto Installer?
- Flash Stock ROMs: If you use tools like SP Flash Tool to flash firmware, this is a must.
- Unbrick Your Device: Stuck in a boot loop or dealing with a soft brick? This tool makes sure your computer can recognize your device, so you can fix it.
- Transfer Data: Keeps your device and computer connected smoothly for file transfers.
- Easy Setup: No complicated steps—it installs the drivers automatically.
What You’ll Need
Before you get started, make sure you have:
- A Windows PC (supports Windows 10, 8/8.1, 7, and older versions).
- A Mediatek-based Android device (any phone or tablet with a Mediatek chipset).
- A USB cable to connect your device to the computer.
- The MTK Driver Auto Installer software.
How to Download the MTK Driver Auto Installer
You can grab the latest version from a trusted source. Just make sure you’re downloading from a reliable site to avoid any malware or corrupted files.
Download Links:
- v1.1236: Mediatek_Auto_Installer_v1.1236.zip
- v1.1352: Mediatek_Auto_Installer_v1.1352.zip – Latest
After downloading, extract the ZIP file to a folder on your PC.
Step-by-Step Guide: Installing MTK Drivers
Here’s how to use the MTK Driver Auto Installer to get Mediatek USB VCOM drivers installed on your Windows PC:
1: Extract the Installer
- Right-click the downloaded ZIP file.
- Select Extract Here or choose a folder to extract the files to.
- Open the folder to access the installation files.
2: Run the Installer as Admin
- Inside the folder, find the file named
InstallDriver.exe. - Right-click on it and select Run as Administrator to start the installation process.
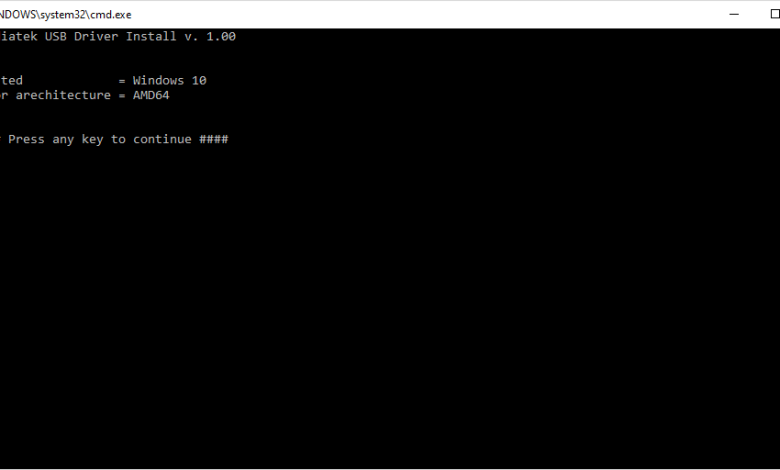
- A command prompt window will pop up and handle the installation.
3: Let It Install
- The installer will automatically detect your version of Windows and install the necessary drivers.
- Just wait for it to finish—it should only take a few moments. You’ll get a confirmation once it’s done.
4: Restart Your Computer
After installation, it’s a good idea to restart your PC to make sure everything is set up properly.
How to Check If the Drivers Are Installed
To verify that the Mediatek USB VCOM drivers are installed correctly:
- Press Windows + X and open Device Manager.
- Expand Ports (COM & LPT) or Universal Serial Bus Controllers and look for MediaTek Preloader USB VCOM Port.
If you see the drivers listed, you’re all set! Your PC will now recognize your Mediatek device when you connect it.
Troubleshooting Tips
If you run into any problems, here are some common fixes:
1. Device Not Recognized After Installation
- Make sure USB Debugging is enabled in the Developer Options on your phone.
- Try using a different USB cable or port on your computer.
2. Installation Fails or Incomplete
- Right-click the installer and choose Run as Administrator.
- Temporarily disable your antivirus—it might be blocking the installation.
3. Drivers Not Listed in Device Manager
- Make sure your device is in Download Mode or Preloader Mode when connecting it to your PC.
- Reinstall the drivers and restart your computer.
Conclusion
The MTK Driver Auto Installer is a must-have if you’re working with Mediatek-powered devices. It makes installing the right drivers quick and painless, whether you’re flashing firmware, unbricking your phone, or just transferring data. Follow the steps in this guide, and you’ll have everything set up in no time.
Don’t forget to restart your computer after the installation to make sure everything runs smoothly!


