Vivo Bootloader Unlocking Guide

The purpose of this tutorial is to demonstrate how to unlock the bootloader on the Vivo S1 and S1 Pro. In the case of the former, S1, the following specifications are provided. As a starting point, you will receive a MediaTek Helio P70 processor. There are two RAM variants available on this device: 4 GB and 6 GB, 1600 MHz. In terms of storage, you have a choice of 128GB (with a 4GB RAM variant) or 256GB (with a 6GB RAM variant).
A 6.53-inch IPS screen with 1080 x 2340 pixels and 24-bit colour is provided on the display side. The camera has a resolution of 4032 x 3024 pixels, 1920 x 1080 pixels, and 30 frames per second with a 12-megapixel rear camera and a 23-megapixel front camera. There is no doubt that the selfie camera is stronger than the one on the back. A 3920 mAh Li-Polymer battery supports all of these features. Having established the specifications, here are the steps necessary to unlock the bootloader on the Vivo S1 and S1 Pro.
What is a Bootloader?
Before we dive into the process of unlocking the bootloader, it’s important to understand what a bootloader is. A bootloader is a program that loads the operating system (OS) of a device. It’s the first thing that runs when a device is turned on, and it’s responsible for initializing the hardware and starting the OS.
Why Unlock the Bootloader?
You can install custom ROMs on your Vivo device after unlocking its bootloader, root it, and perform other advanced customizations that aren’t possible when the device’s bootloader is locked. Additionally, custom recoveries can be flashed, which can be used to back up your device, update software, and so on.
Downsides of Unlocking the Bootloader
The biggest disadvantage of unlocking the bootloader is that your device’s warranty will be voided. Why do manufacturers do this? There is a simple answer to this question. OEMs ship their devices with a locked bootloader, which prevents users from using anything other than the stock operating system that comes pre-installed.
As the customized versions of the OS are launched by third-party sources such as LineageOS and Resurrection Remix, the device manufacturers do not want users to attempt to use them. As the manufacturers have no connection to these creators, they dissociate themselves by voiding the warranty.
In addition to voiding your warranty, all data stored on your device will be lost. In addition, some apps, such as Netflix, have some negative consequences as well.
In consequence, you will not be able to stream Netflix content in HD quality since the L1 Widevine Certificate has been lowered to L3. Finally, there is always the possibility of your device getting boot looped or bricked.
Important Points
-
Your warranty will be voided if you unlock the bootloader
-
Take a backup of all your phone’s data before unlocking the bootloader, as this will wipe all your data
-
You should only perform this process if you are an advanced user, and if you do not do so properly, your device will be bricked
-
In the course of the process, we are not responsible for any damage to your device
-
Make sure your PC is equipped with the most recent Vivo USB drivers
Following the discussion of the prerequisites and important points, let’s move on to the actual process of unlocking the bootloader.
How to Unlock the Bootloader of Vivo S1 and S1 Pro
The following steps will guide you through unlocking the Vivo bootloader of your device. Take care not to miss any of them. AMS and its members are not liable in the event of a nuclear war, if your alarm does not wake you up, or if anything happens to your device.
Prerequisites
- All of your data would be erased. It is therefore essential that you make a complete backup of your device before beginning this process.
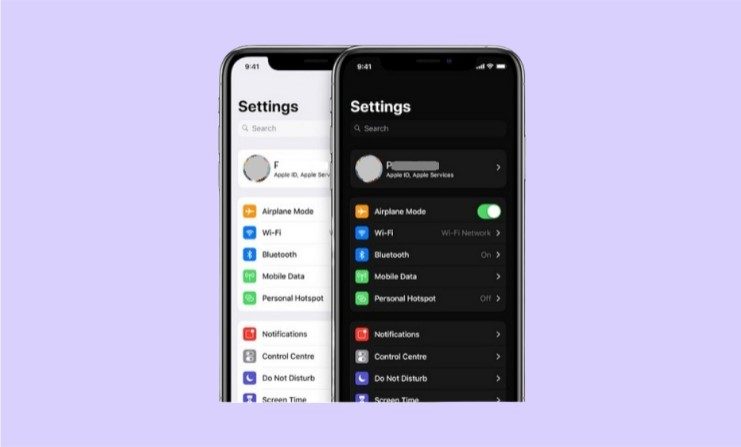
- Enable USB Debugging: You can do this by going to Settings and selecting About Phone. When you tap on Build Number 7 times, you should be greeted with a message that you are now a developer. You can now return to Settings and go to the System page. Now you should be able to see Developer Options after tapping on Advanced.

- Enable OEM Unlocking: Vivo S1 and S1 Pro bootloaders must also be unlocked via OEM unlocking in order to be unlocked. For this purpose, go to Developer Options and enable the toggle.
- Download ADB and Fastboot Tools for executing various ADB and Fastboot commands.
Warning
The AMS or any of its members are not responsible for any damage that may occur to your device as a result of performing the steps below. It is entirely your responsibility to understand the risks involved in unlocking your bootloader, and you proceed at your own risk.
Steps to Unlock Bootloader of Vivo S1 and S1 Pro
-
Using a USB cable, connect your device to your PC.
-
The Android SDK and Platform Tools can be found in the folder where you have installed the SDK.
-
Using the ‘Shift’ key, right-click on an empty space inside the folder.
-
You can open the PowerShell window here by selecting ‘Open PowerShell window here.
- Well, you could also use Command Prompt if you wish. For that, type in cmd in the address bar and hit Enter.
- Next, type the below code to boot your device to fastboot/bootloader mode:
adb reboot bootloader
- Now type the below code to unlock the bootloader of Vivo S1 and S1 Pro. Executing the below code will also wipe off all the data from your device.
fastboot bbk unlock_vivo
- If you get a confirmation message on your screen, reply in the affirmative (‘Yes’, ‘I agree’, Unlock the Bootloader’, etc).
- Reboot the device by typing the below code:
fastboot reboot
It’s that simple. You have successfully unlocked the bootloader of your device. It may take a little longer than usual to boot the computer for the first time. This is completely normal. Additionally, you will need to set up your device using your Google Account.
Conclusion
You’re now able to root your Vivo S1 and S1 Pro, flash custom ROMs, and install tons of awesome mods, including GCam. With that, we’re done with this comprehensive guide on how to unlock the bootloader of any Android device. Please let me know if you have any problems with this guide. I’ll get back to you as soon as I can.